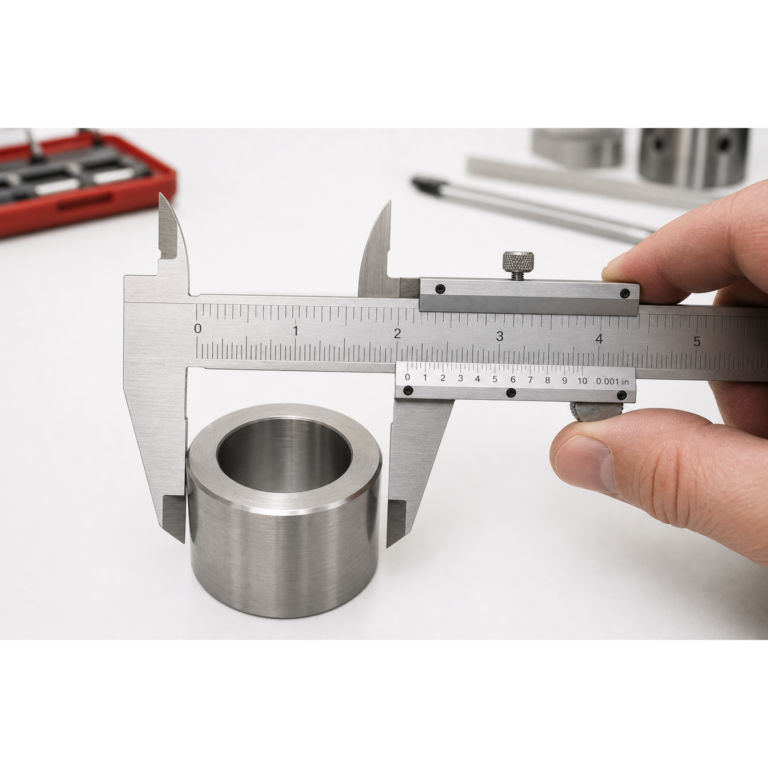
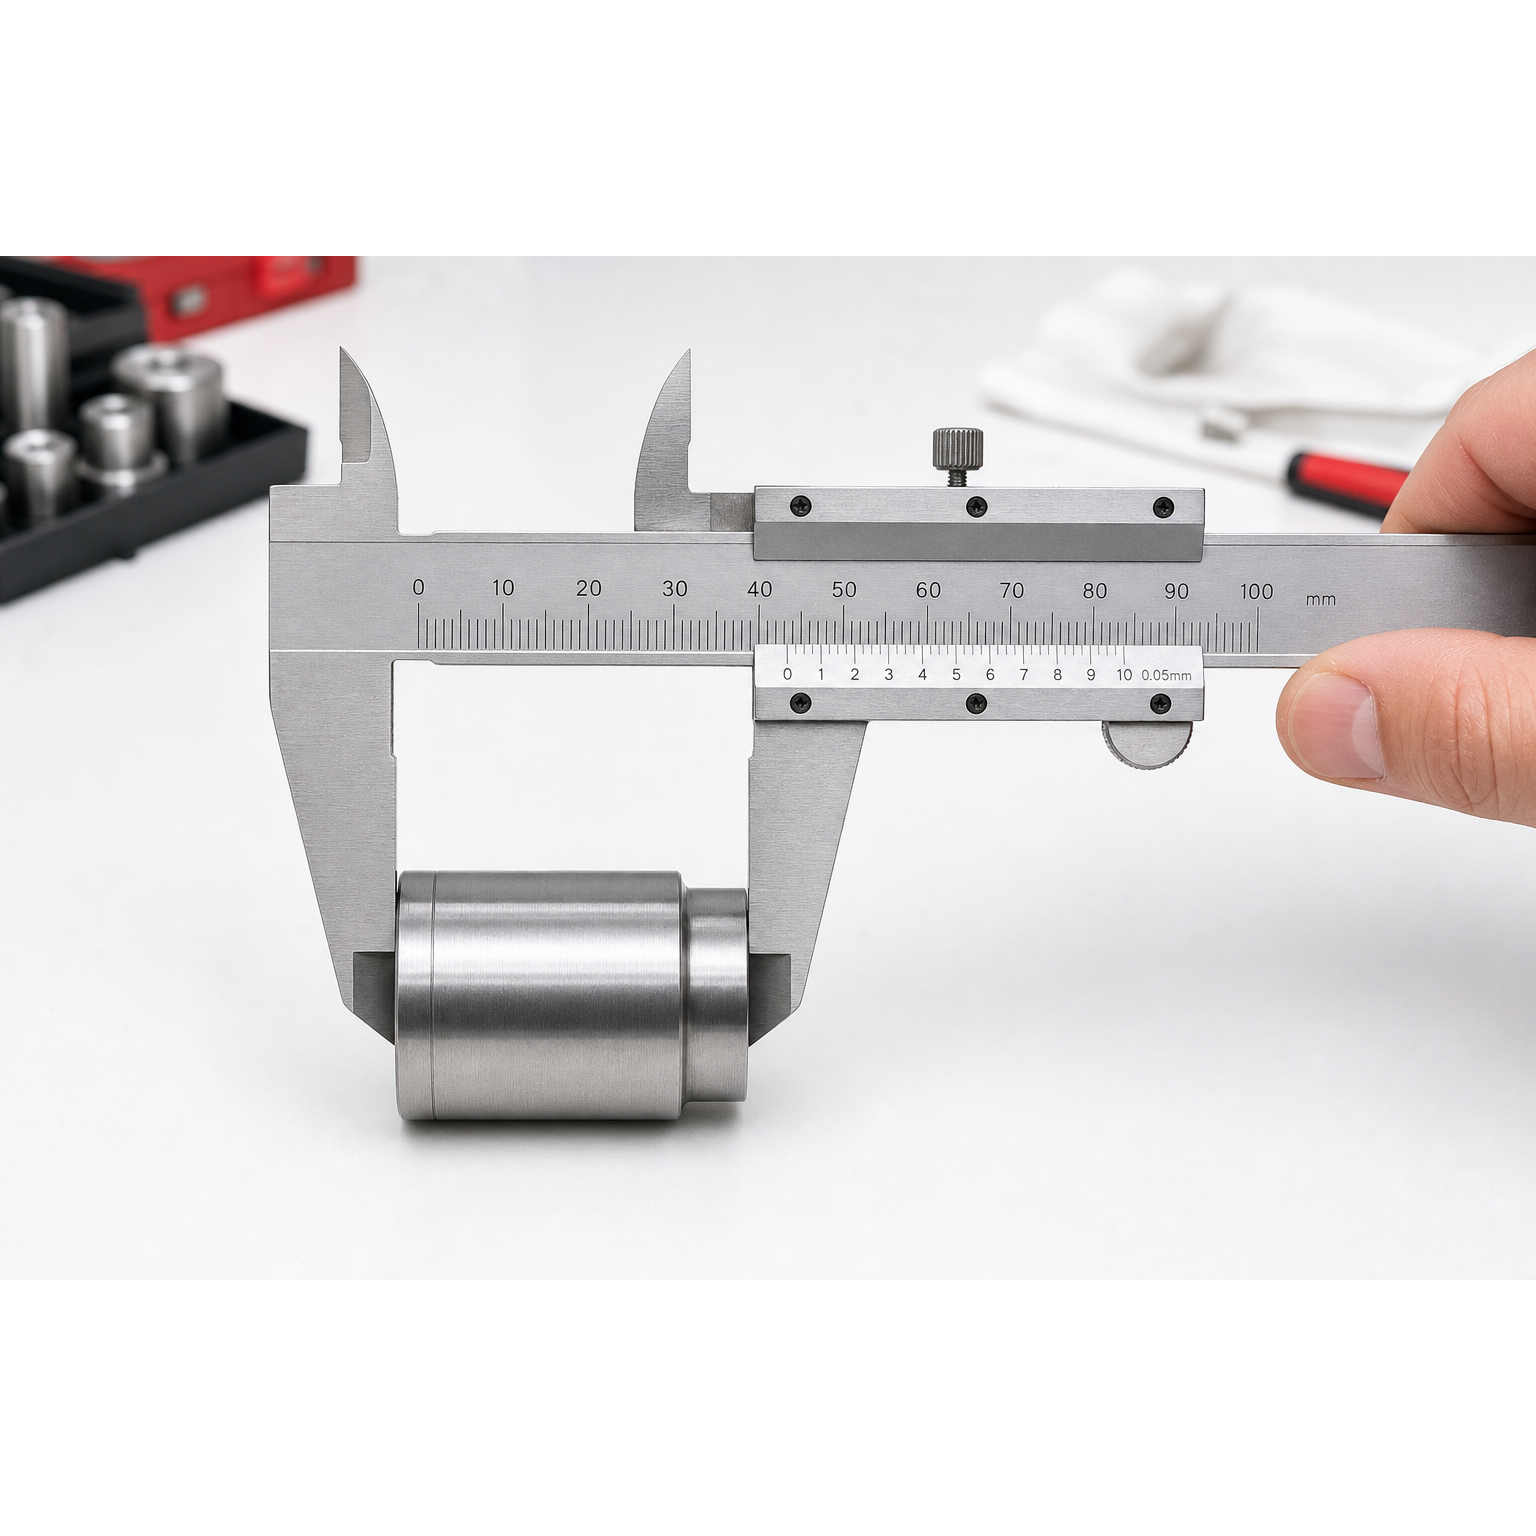
A metric vernier caliper is a precise, versatile measuring tool used for outside, inside, depth and step measurements. Unlike a ruler, it combines a main scale with a sliding vernier scale, allowing readings commonly down to 0.05 mm or 0.02 mm. This guide explains how to prepare the tool, take a measurement and read the result correctly.
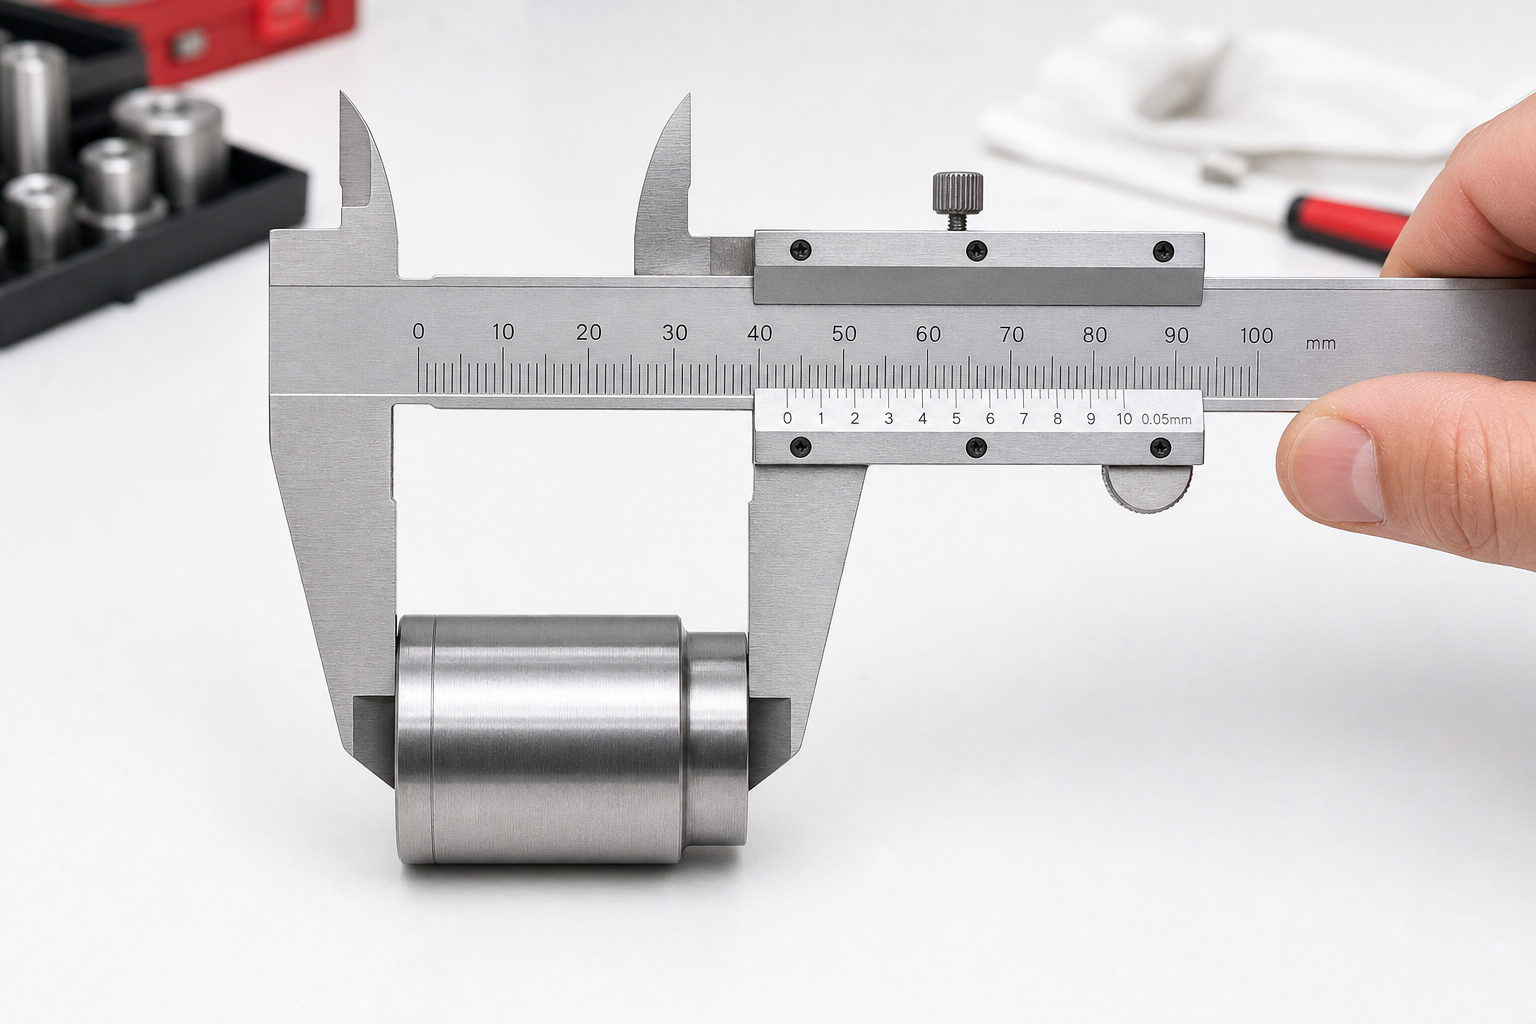
Parts of a Metric Vernier Caliper
- Outside jaws: Measure external dimensions such as shaft diameter, plate thickness and part width.
- Inside jaws: Measure internal dimensions such as hole diameter and slot width.
- Depth rod: Measures the depth of holes, recesses and shoulders.
- Step faces: Measure the distance between two stepped surfaces.
- Main scale: Shows whole millimetres.
- Vernier scale: Shows the fractional part of a millimetre.
- Lock screw and thumb roller: Help position and hold the slider.
1. Check the Caliper Before Measuring
Wipe the jaws and the workpiece with a clean, lint-free cloth. Dirt, oil or metal chips can change the result. Close the outside jaws gently and check that the zero on the vernier scale aligns with the zero on the main scale. If the zeros do not align, note the zero error and correct the final reading, or have the tool inspected if the error is significant.
2. Choose the Correct Measuring Surfaces
Use the large lower jaws for outside measurements, the small upper jaws for inside measurements, and the depth rod for holes or recesses. For a step measurement, place the rear step faces firmly against both reference surfaces.
3. Position the Caliper Correctly
Open the jaws slightly wider than the part, place the tool square to the measurement axis, and close the jaws until they make light contact. Do not squeeze: excessive force can flex the jaws or compress a soft part. For a shaft, gently rock the caliper while maintaining contact and use the largest stable reading to confirm that the jaws pass across the true diameter.
4. Read the Main Scale
Locate the zero line on the vernier scale. Read the last whole-millimetre mark on the main scale immediately to the left of the vernier zero. This is the main-scale reading.
5. Read the Vernier Scale
Look along the vernier scale and identify the line that aligns most exactly with a line on the main scale. Multiply that vernier division number by the caliper resolution printed on the tool.
Formula: Final measurement = main-scale reading + (aligned vernier division ? resolution)
Example: Main scale = 12 mm. The 14th vernier line aligns, and the caliper resolution is 0.05 mm. Vernier reading = 14 ? 0.05 mm = 0.70 mm. Final measurement = 12.70 mm.
Common Caliper Resolutions
- 0.05 mm: Each matching vernier division adds 0.05 mm.
- 0.02 mm: Each matching vernier division adds 0.02 mm.
- 0.10 mm: Each matching vernier division adds 0.10 mm.
Always use the resolution marked on your own caliper. Do not assume that every vernier scale is the same.
How to Measure Different Features
Outside Diameter or Thickness
Use the outside jaws. Keep the jaws flat against the surfaces and perpendicular to the part. On round parts, check the reading at more than one position to identify taper or out-of-round conditions.
Inside Diameter
Insert the inside jaws into the opening and expand them gently. Keep the caliper square, then rock it slightly and use the largest stable reading for a round hole.
Depth
Place the end of the caliper beam flat on the reference surface and extend the depth rod until it touches the bottom. Keep the beam level and avoid tilting the rod.
Step Height
Place the two rear step faces against the upper and lower surfaces, then slide the caliper until both faces contact their references fully.
Tips for Accurate Measurements
- Measure at room temperature when possible; temperature changes can affect both the tool and the part.
- Use consistent, light measuring pressure.
- Keep the caliper square to the feature being measured.
- Repeat the measurement two or three times.
- Do not use a caliper as a clamp, marking tool or pry bar.
- After use, wipe the tool clean, apply a very light protective oil if required, and store it with the jaws slightly open.
When a Micrometer Is Better
A vernier caliper is excellent for general workshop measurements, but it is not always the best choice for very tight tolerances. If the required accuracy is finer than the caliper resolution, use a suitable outside, inside or depth micrometer and follow the calibration requirements for the job.
Quick Checklist
- Clean the jaws and the part.
- Check zero alignment.
- Select the correct measuring surfaces.
- Keep the caliper square and apply light pressure.
- Read the whole millimetres on the main scale.
- Add the aligned vernier division multiplied by the stated resolution.
- Repeat the measurement to confirm the result.
Correct technique matters as much as reading the scale. A clean tool, proper alignment and light contact pressure will make metric vernier caliper measurements more reliable and repeatable.