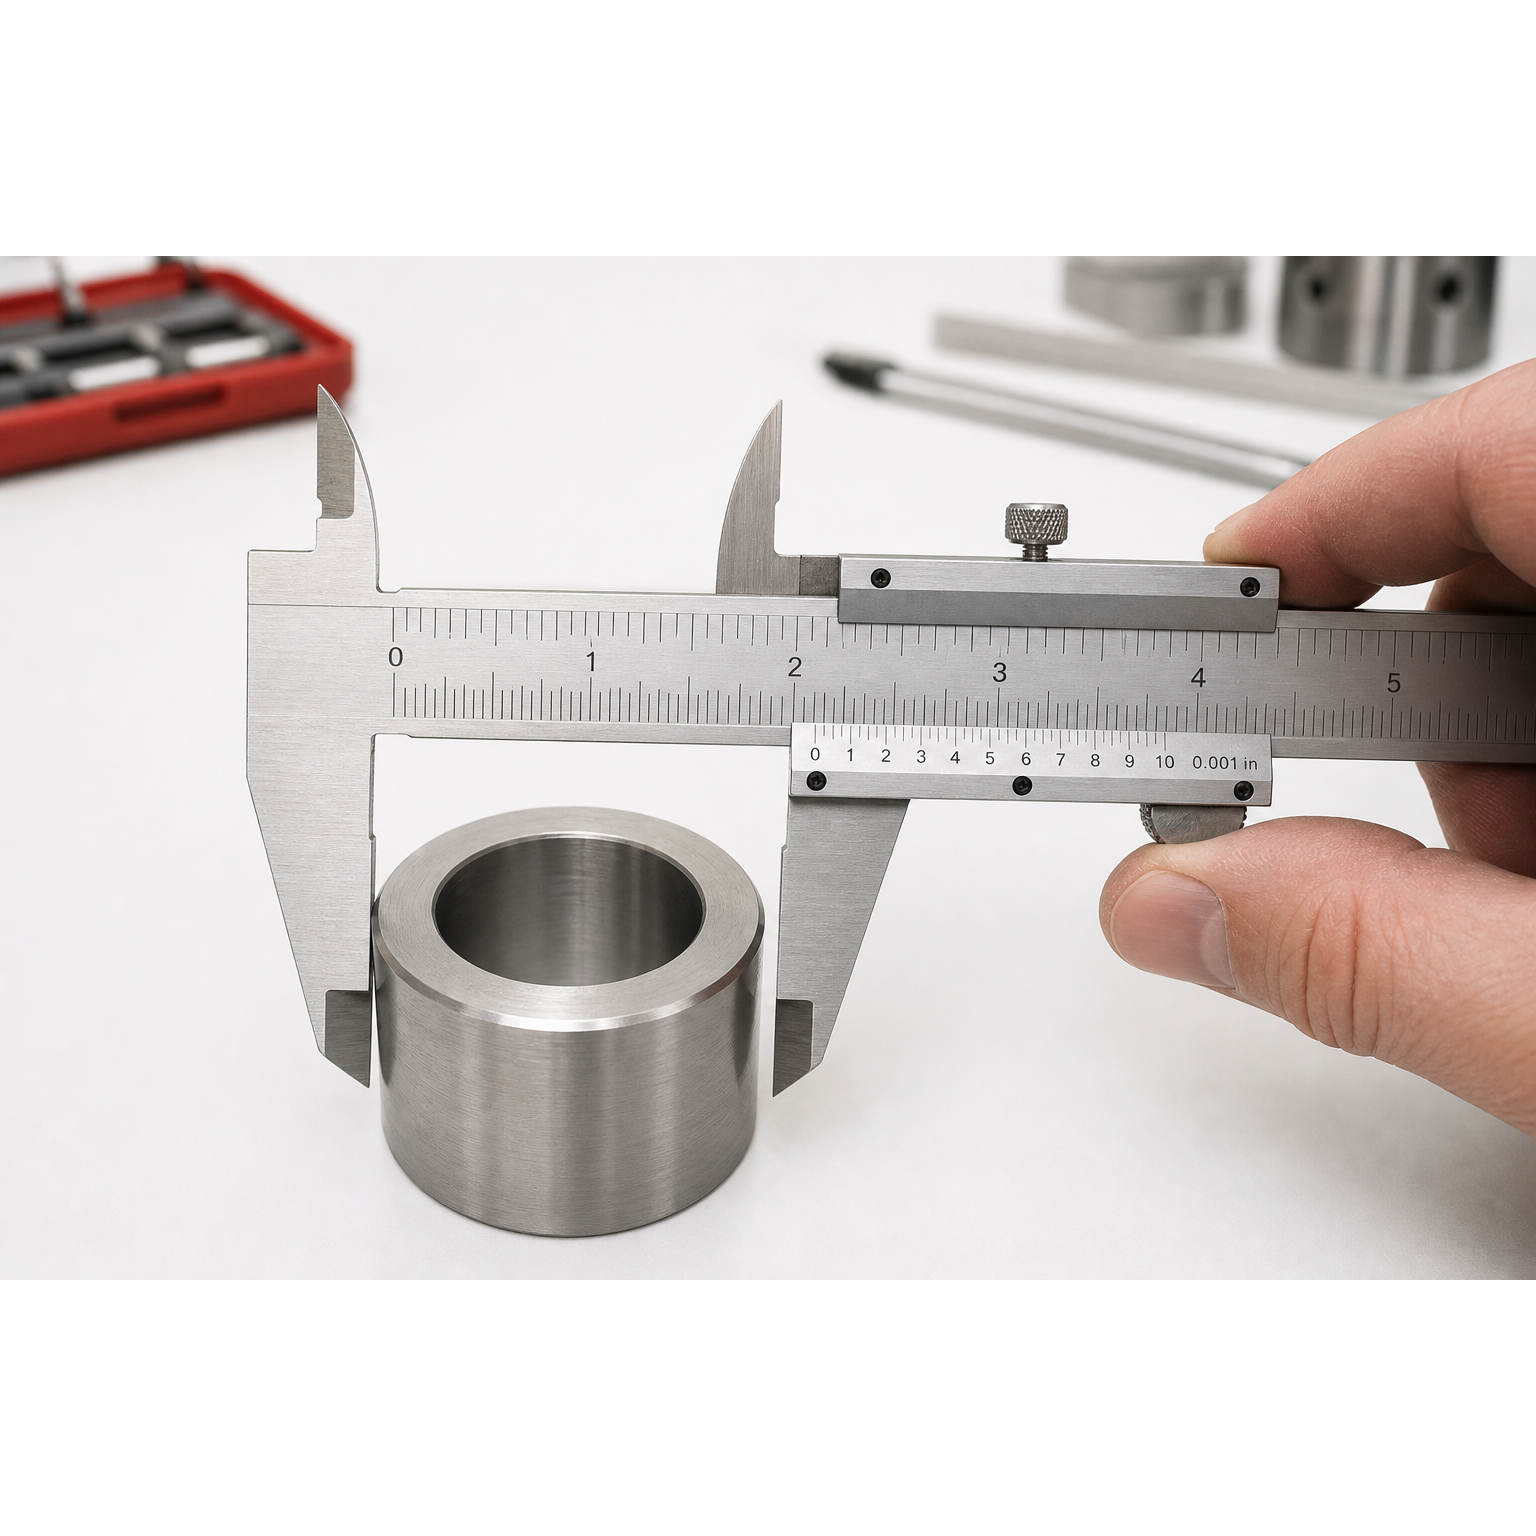
An imperial vernier caliper measures in inches and is commonly used for outside, inside, depth and step measurements. A typical decimal-inch vernier caliper reads to 0.001 in, but scale layouts vary. This guide explains the common 0.001-inch system and shows how to take a reliable measurement.
Identify the Scale Type First
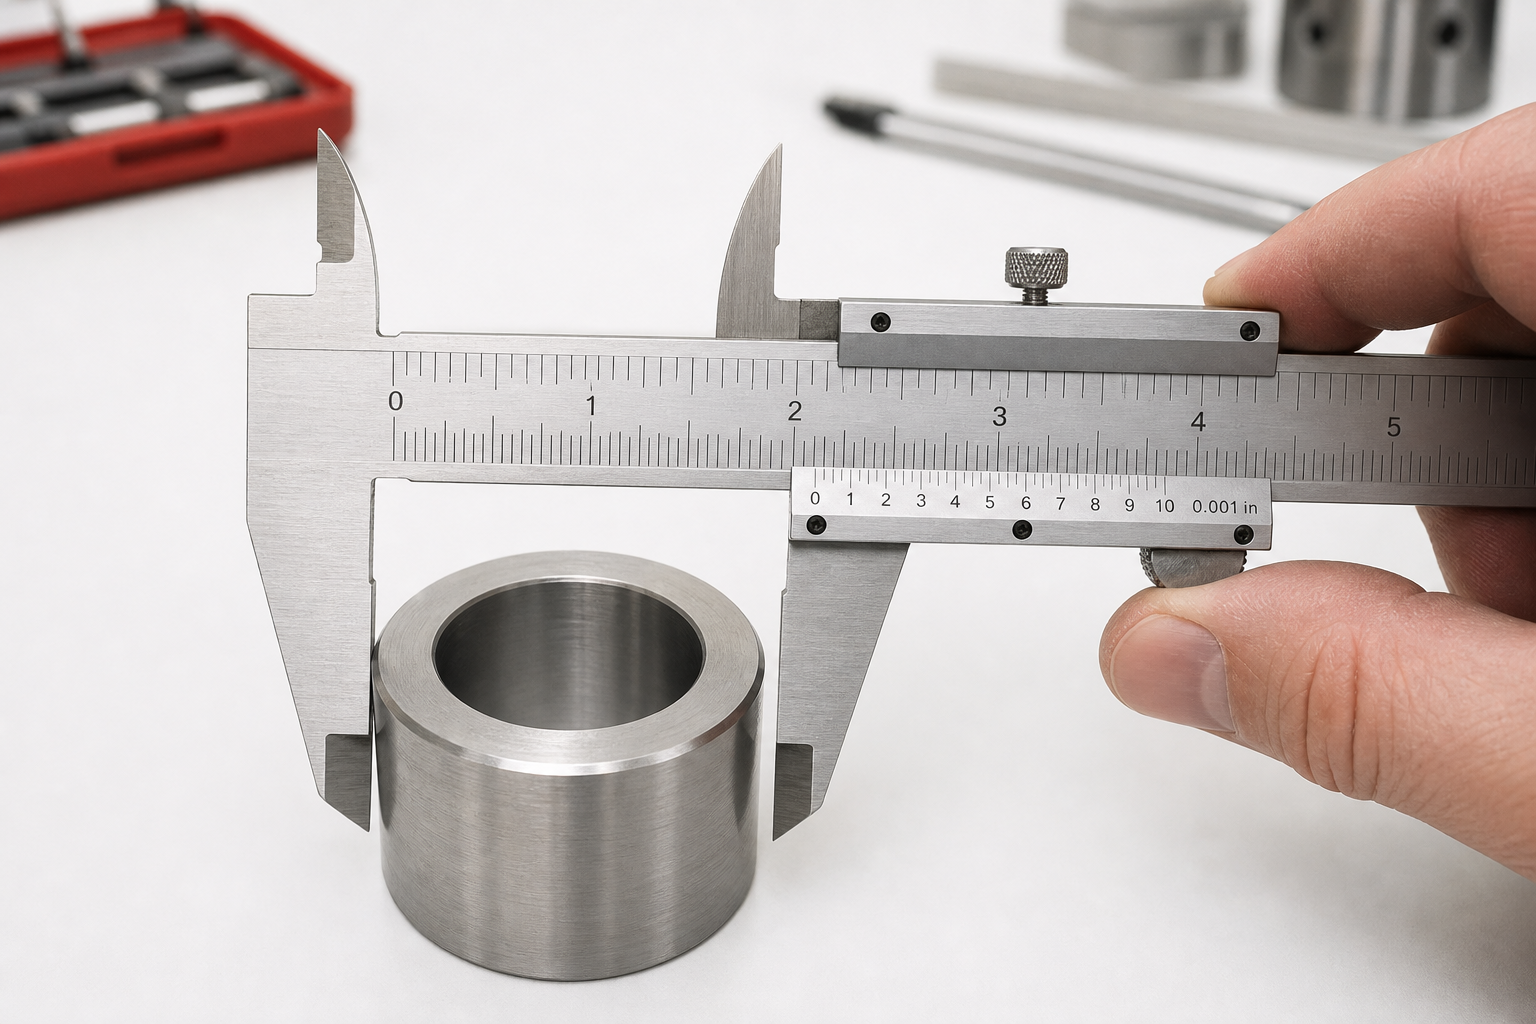
Before measuring, look for the resolution engraved on the vernier scale. A common decimal-inch caliper is marked 0.001 in. Its main scale is usually numbered in whole inches, divided into tenths, with each tenth divided into four 0.025-inch increments. Other tools may use 0.001-inch layouts with different graphics, or fractional-inch scales such as 1/128 in. Always follow the markings on the actual tool.
Parts of an Imperial Vernier Caliper
- Outside jaws: Measure shaft diameter, plate thickness and external width.
- Inside jaws: Measure hole diameter, slot width and other internal features.
- Depth rod: Measures hole, recess and counterbore depth.
- Step faces: Measure the distance between stepped surfaces.
- Main scale: Provides whole inches, tenths and the 0.025-inch increments.
- Vernier scale: Adds the final thousandths of an inch.
- Lock screw and thumb roller: Position and hold the slider.
1. Clean and Check Zero
Wipe the measuring faces and workpiece with a clean, lint-free cloth. Close the outside jaws gently. The zero on the vernier scale should align with zero on the main scale. If it does not, note the zero error and correct the final result, or have the tool inspected when the error is significant.
2. Select the Correct Measuring Surfaces
Use the large lower jaws for external measurements, the small upper jaws for internal measurements, the depth rod for holes and recesses, and the rear step faces for step measurements.
3. Position the Caliper Correctly
Open the jaws slightly wider than the part and close them with light pressure. The jaws must remain square to the measurement axis. Do not squeeze the slider: excessive pressure can flex the tool or compress a soft workpiece. When measuring a round shaft, rock the caliper slightly and use the largest stable reading to locate the true diameter.
4. Read the Main Scale
Find the zero line on the vernier scale. Read every completed main-scale increment to the left of that zero:
- Record the whole-inch value.
- Add the completed tenth-inch value.
- Add any completed 0.025-inch divisions after the last tenth.
For example, three completed 0.025-inch divisions equal 0.075 in.
5. Read the Vernier Scale
Scan the vernier lines and find the one that aligns most exactly with a main-scale line. On a caliper marked 0.001 in, multiply the aligned vernier division number by 0.001 in.
Formula: Final measurement = whole inches + tenths + 0.025-inch divisions + vernier reading
Example: Whole inches = 1.000 in; completed tenths = 0.200 in; three 0.025-inch divisions = 0.075 in; aligned vernier line = 13, so 13 ? 0.001 in = 0.013 in. Final measurement = 1.288 in.
Why the Main Scale Uses 0.025-Inch Divisions
On the common decimal-inch design, each 0.100-inch section is divided into four equal parts. Therefore, each small main-scale division is 0.100 ? 4 = 0.025 in. The vernier then supplies the additional thousandths needed to complete the reading.
How to Measure Different Features
Outside Diameter or Thickness
Use the outside jaws and keep their faces flat against the workpiece. For a round part, measure at several positions to check for taper or out-of-round conditions.
Inside Diameter
Insert the inside jaws and expand them gently until both contact the bore. Keep the caliper square, rock it slightly, and use the largest stable reading for a round hole.
Depth
Place the end of the beam flat on the reference surface. Extend the depth rod until it contacts the bottom, keeping the beam level and the rod aligned with the depth direction.
Step Height
Place the rear step faces against the two reference surfaces. Slide the caliper until both faces make full contact before reading the scales.
Common Reading Mistakes
- Reading the main-scale mark to the right of the vernier zero instead of the last completed mark to its left.
- Treating each small main-scale division as 0.010 in instead of 0.025 in.
- Using the printed vernier number without multiplying by 0.001 in.
- Tilting the tool across a shaft, bore or depth surface.
- Applying too much jaw pressure.
- Ignoring dirt, burrs, temperature and zero error.
Tips for Better Accuracy
- Measure a clean, burr-free surface at a stable temperature.
- Use light and repeatable measuring pressure.
- Keep the caliper square to the feature.
- Repeat the measurement two or three times.
- Check more than one location on round or long parts.
- Do not use the caliper as a clamp, scribe or pry tool.
- Clean and store it with the jaws slightly open after use.
When to Use a Micrometer Instead
A 0.001-inch vernier caliper is suitable for many workshop checks, but it may not provide enough accuracy for close-tolerance work. When the allowable tolerance approaches the caliper resolution, use the correct outside, inside or depth micrometer and follow the required calibration procedure.
Quick Reading Checklist
- Clean the tool and workpiece.
- Verify zero alignment and resolution.
- Use the correct measuring surfaces.
- Keep the tool square and apply light pressure.
- Add the whole inches, tenths and completed 0.025-inch divisions.
- Add the aligned vernier division multiplied by 0.001 in.
- Repeat the reading to confirm it.
Once the scale pattern is understood, an imperial vernier caliper is straightforward to read. The key is to separate the main-scale value from the vernier value, then combine them without skipping any completed 0.025-inch divisions.